
How to Create a Plastic Prototype? 4 Manufacturing Techniques
Creating a plastic prototype involves several manufacturing techniques, each suited for different needs like speed, cost, or complexity. Here are 4 common methods:
First. 3D Printing (Additive Manufacturing)
- Process: Builds the prototype layer by layer using plastic filaments (FDM), resins (SLA), or powder (SLS), based on a 3D digital model.
- Advantages: Fast turnaround (hours to days), ideal for complex geometries, low cost for small quantities.
- Common Materials: PLA, ABS, PETG, photopolymer resins.
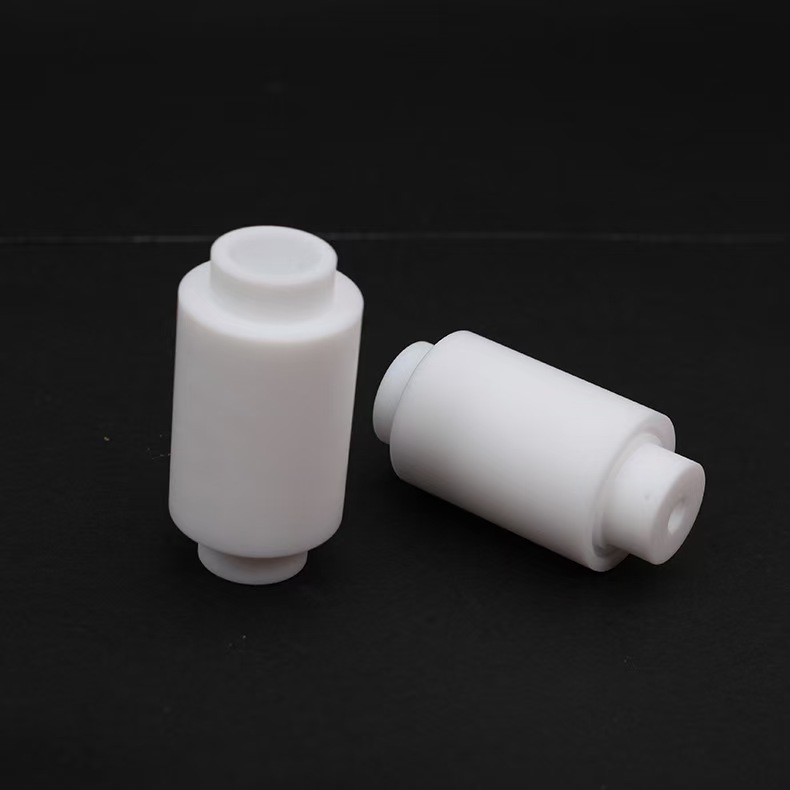
Second. CNC Machining (Subtractive Manufacturing)
- Process: Uses computer-controlled tools to cut and shape a solid plastic block (e.g., acrylic, POM) into the desired prototype.
- Advantages: High precision, good mechanical properties, works with a wide range of engineering plastics.
 Third. Vacuum Casting (Urethane Casting)
- Process: Creates a silicone mold from a master model (often 3D printed), then pours liquid polyurethane resin into the mold to replicate the part.
- Advantages: Produces multiple copies (10-50) with good surface finish, can mimic various plastic properties.
- Use Case: Small-batch prototyping or pre-production runs.
Fourth. Injection Molding (for Prototypes)
- Process: Similar to mass-production injection molding but uses simpler, cost-effective molds (e.g., aluminum instead of steel) to inject molten plastic into a mold cavity.
- Advantages: Most accurate for simulating final production parts, suitable for testing material performance.
- Consideration: Higher upfront mold cost, better for larger prototype quantities or final design validation.
First. 3D Printing (Additive Manufacturing)
- Process: Builds the prototype layer by layer using plastic filaments (FDM), resins (SLA), or powder (SLS), based on a 3D digital model.
- Advantages: Fast turnaround (hours to days), ideal for complex geometries, low cost for small quantities.
- Common Materials: PLA, ABS, PETG, photopolymer resins.
- Process: Uses computer-controlled tools to cut and shape a solid plastic block (e.g., acrylic, POM) into the desired prototype.
- Advantages: High precision, good mechanical properties, works with a wide range of engineering plastics.
- Best For: Functional prototypes requiring strength or tight tolerances.
- Process: Creates a silicone mold from a master model (often 3D printed), then pours liquid polyurethane resin into the mold to replicate the part.
- Advantages: Produces multiple copies (10-50) with good surface finish, can mimic various plastic properties.
- Use Case: Small-batch prototyping or pre-production runs.
Fourth. Injection Molding (for Prototypes)
- Process: Similar to mass-production injection molding but uses simpler, cost-effective molds (e.g., aluminum instead of steel) to inject molten plastic into a mold cavity.
- Advantages: Most accurate for simulating final production parts, suitable for testing material performance.
- Consideration: Higher upfront mold cost, better for larger prototype quantities or final design validation.